snowflake window mobile tutorial
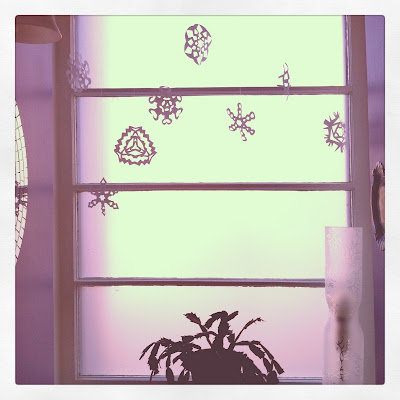
We haven't had much snow here. Right now there is none outside, but I have snowflakes inside.
There's something soothing about cutting out paper snowflakes. And it's so much fun having them dance in the draft of our forced air heating and in air currents when someone walks by. It's also such a simple project. After I hung these in our front bay window I decided to make some more to hang in the little bathroom. The second time around I photographed my process and thought I'd share it with you here. It's easy peasy. Here's what you need:
Paper, scissors and thread. I used 8 1/2 by 11 printer paper and white thread. Use whatever you have on hand. For small snowflakes I divided my paper into quarters simply by folding the paper, running my nail over the edge and tearing.
Next I trimmed my paper into squares by folding one corner down to the edge and cutting off the excess.
The next step is to fold the two corners of the triangle evenly so that once you start cutting you'll be making a six-pointed snowflake.
Trim the excess to make a rounded edge.
Then cut to your heart's content to create your snowflake, being sure to keep a bit of the folded edge on each side.
Unfold it to reveal your snowflake!
Repeat until you have your desired number of snowflakes.
To make these into a simple mobile, cut a length of thread and tie it carefully onto one of the points of each snowflake.
Leaving the pieces of thread long and previewing the design of your mobile on a table enables you to easily modify the arrangement.
For the mobile in my bay window I tied another length of thread from one hanging plant hook to another, parallel to the ceiling. In my bathroom window I took a tiny piece of tape and attached the second piece of thread to the top of the trim over the window. Tacks would also work for this. Next, I tied the snowflakes at varying heights along that second thread. When I was finished I trimmed any excess thread. Once the snowflakes are hung, the thread practically disappears.


What a cute idea! Looks awesome!
ReplyDeletemy mumsie is the queen of snowflakes and we spent hours cutting them out when we were kids. thanks for the memories!
ReplyDeleteWonderful idea! We may make some next week for the craft club at the nursing home I volunteer at.
ReplyDeletesweet!
ReplyDeleteThis is a great tutorial! I always suck at making those. And beautiful photos!!
ReplyDeleteYour snowflakes are so pretty Anne. My children love to sit and create piles of them. Last year we hung them similarly to yours. Today the real stuff showed up here in NY. Just a bit though.
ReplyDeleteThese are so pretty Anne and a mobile makes a change from the paper snowflakes that are usually stuck to a window. Thank you for the tutorial. My snowflakes usually fall apart!
ReplyDeleteWhat a lovely idea and they do look so pretty. We've had very little snow here too, which I am enjoying tremendously..give me paper ones any day :)
ReplyDeleteReading you last post..I've been toying with the idea of bloggy gratitude day too, but knowing my intentions of keeping something up usually start to wane shortly after! It's nice to know in future I can join in here instead :) xx
So glad that everyone enjoyed my tutorial. I thought it would be a good excuse to play with Instagram some more and to cut more paper. Just a bit of play time. :)
ReplyDelete